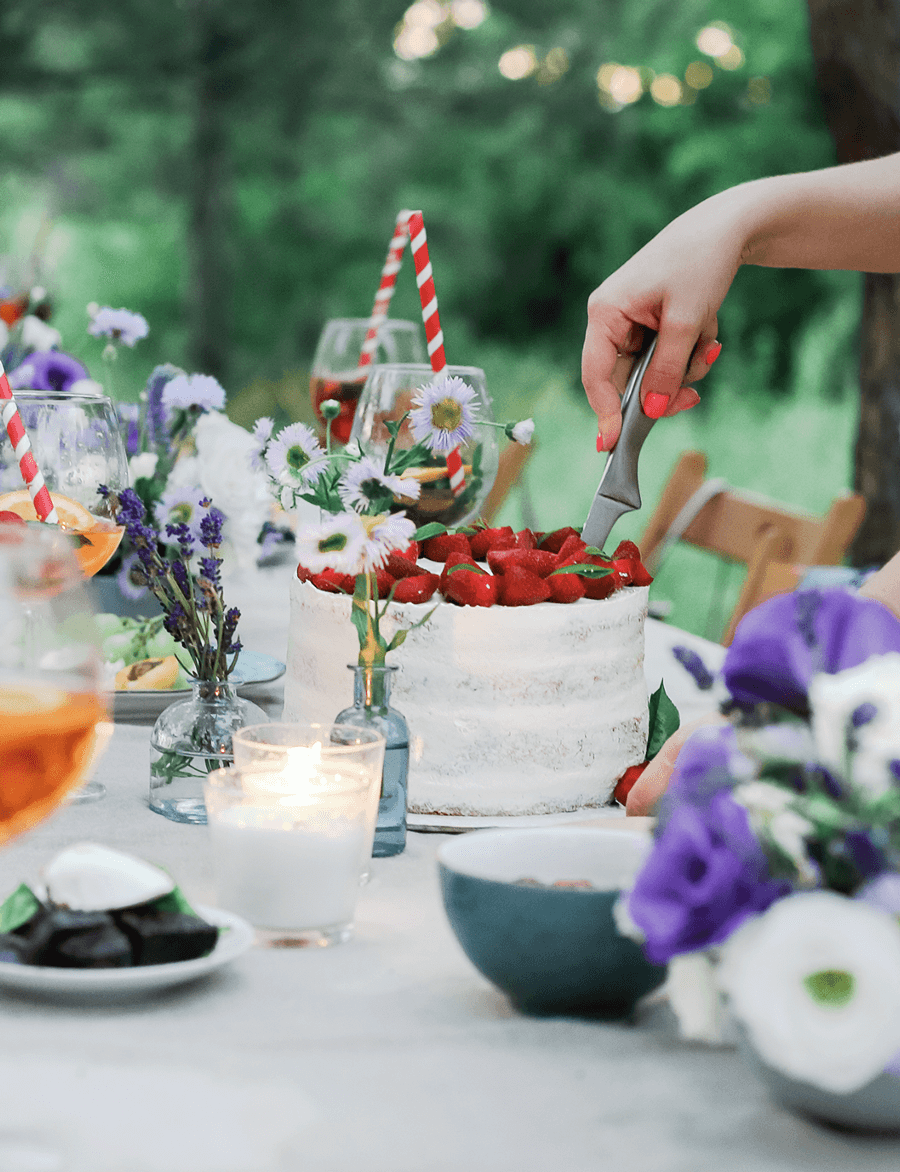
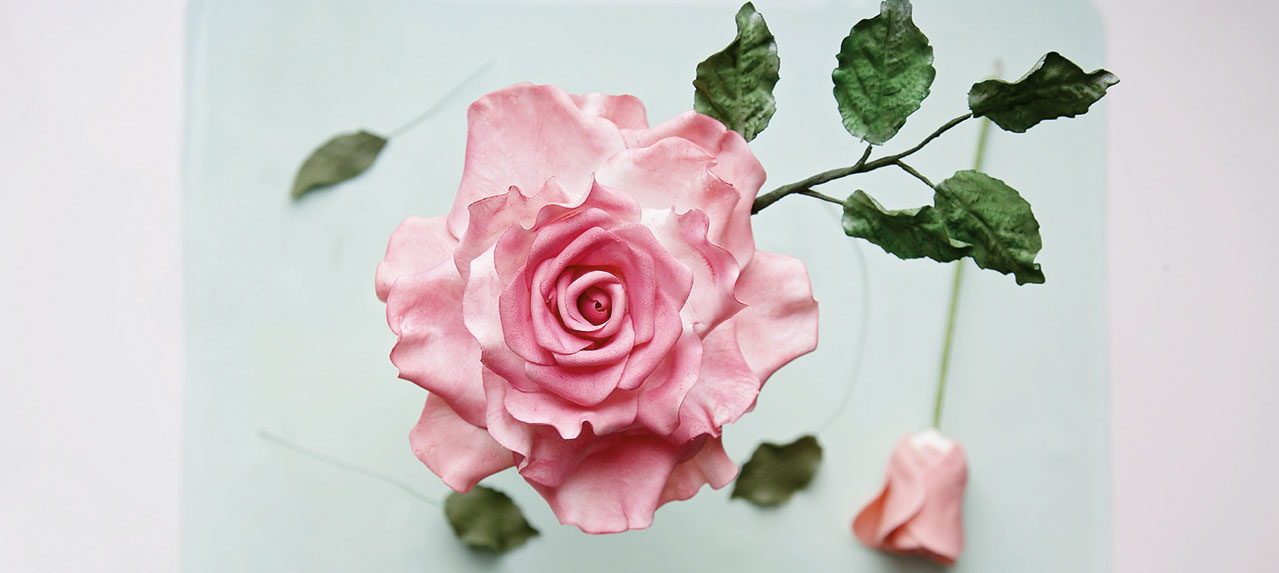
GARDEN ROSE
Makes 1 medium size rose of 15 petals | Preparation 2 days
INGREDIENTS |
- Non-stick silicone mat
- Ball tool
- 1 thick wire stem
- 1 or 2 thin wire stems
- Pliers
- 3 sizes of rose petal cutters
- 200g packet of white gum paste (buy it or make it)
- 2 x food coloring (pink for petals and green for leaf)
- Rolling pin or rolling ball
- Brush
- Water
- Wooden stick
- X-acto knife
PREPARATION |
First day
Prepare the bud and the leaves.
Second day
Assemble the petals and the bud.
To make cones for the center of the roses
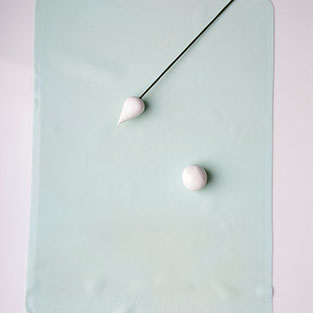
1. Roll white gum paste into a 3cm ball.
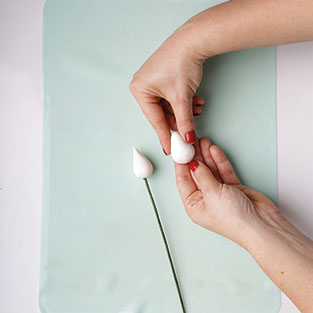
2. Roll one side to a point to give a cone shape.
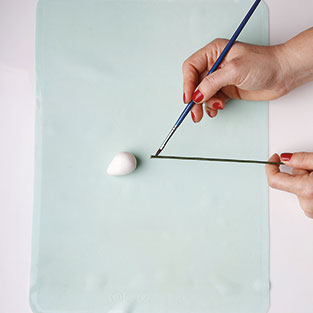
3. Brush a little bit of water onto the thick stem.
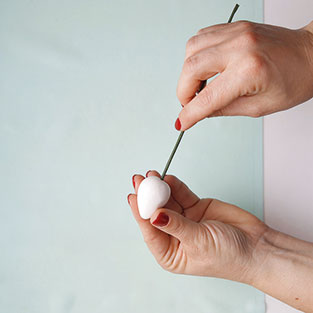
4. Insert it into the broad end of the cone-shaped bud. Allow to dry 24 hours.
For the pink rose petals
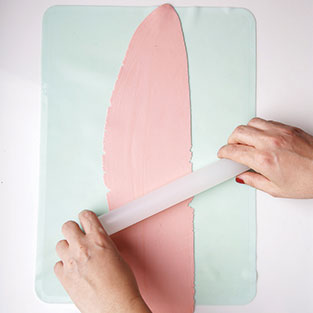
5. Roll the gum paste with the rolling pin until it is 5mm thick.
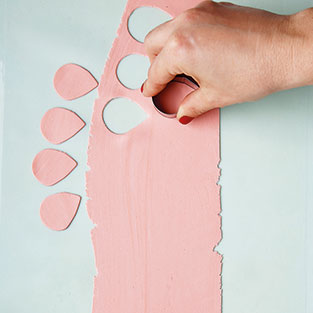
6. Cut petals with petal cutter mold in three different sizes.
Tip: The bigger you want the flower, the bigger the mold should be.
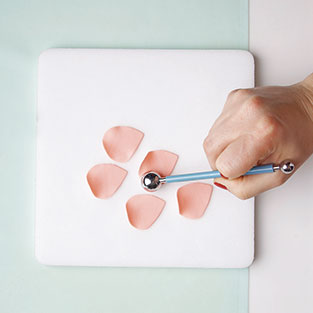
7. Take a ball tool and thin out the upper part of the petal.
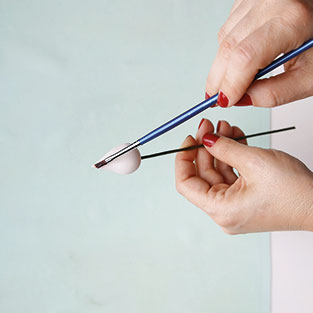
8. Add a drop of water on the top of the bud to allow the upper part of the petal to stick properly.
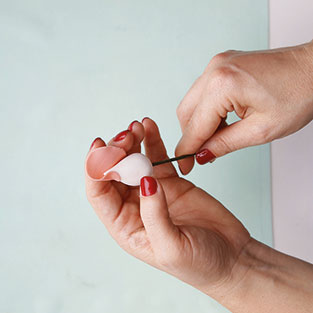
9. Roll the petal all over the bud.
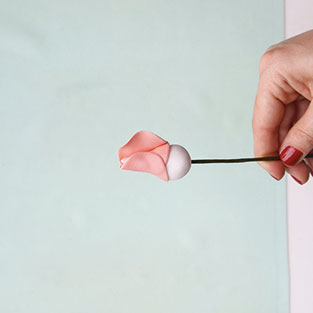
10. Add another petal and repeat.
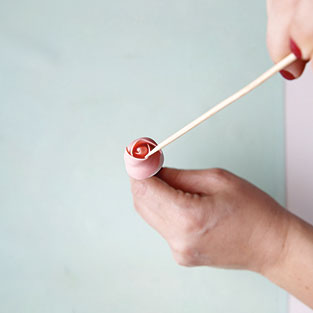
11. If the petal sticks from the top, use a wooden stick to push it open.
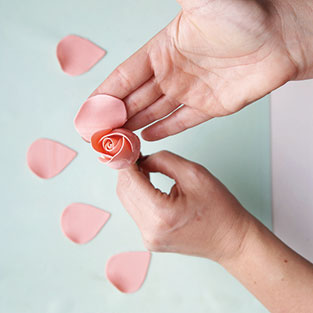
12. Gradually add petals to make the rose bigger.
Tip: For a medium rose you will need to prepare 15 petals; for a big rose – 20 petals.
For the leaf
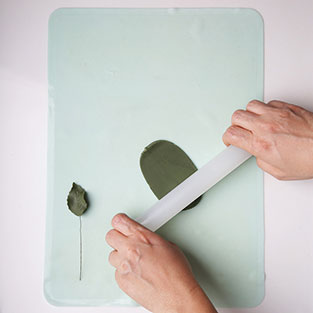
13. Roll out the green gum paste.
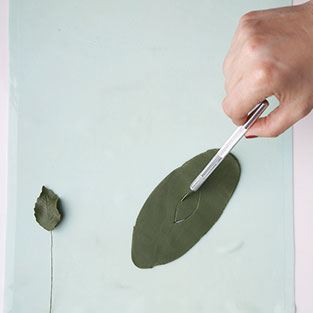
14. With a wooden stick, draw out the leaf in the desired size and cut it out with a knife.
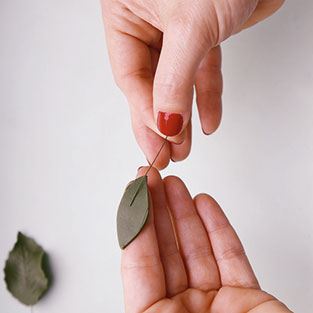
15. Stick the thin stem to the leaf.
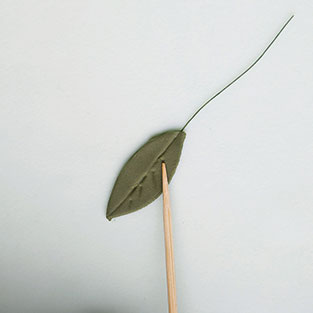
16. Vein the leaf by pressing on the gum with the wooden stick.
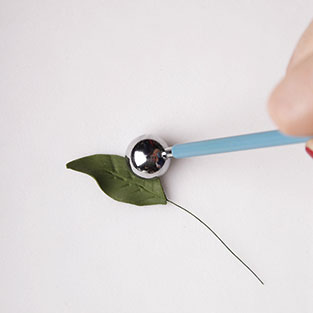
17. Press on the edges of the leaf with the ball roll to make the leaf thinner.
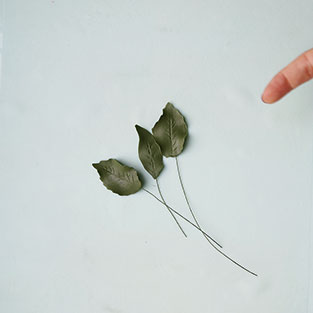
18. Allow to rest a few hours to dry.
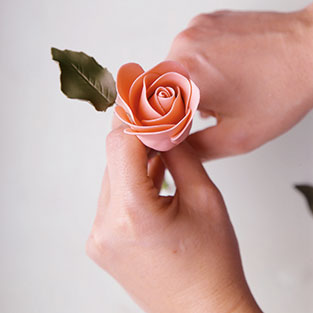
19. Attach the leaf wires together and then to the flower.
Tip: You can use green florist tape if necessary.


